Carby Quick Start Guide
- Power off GameCube.
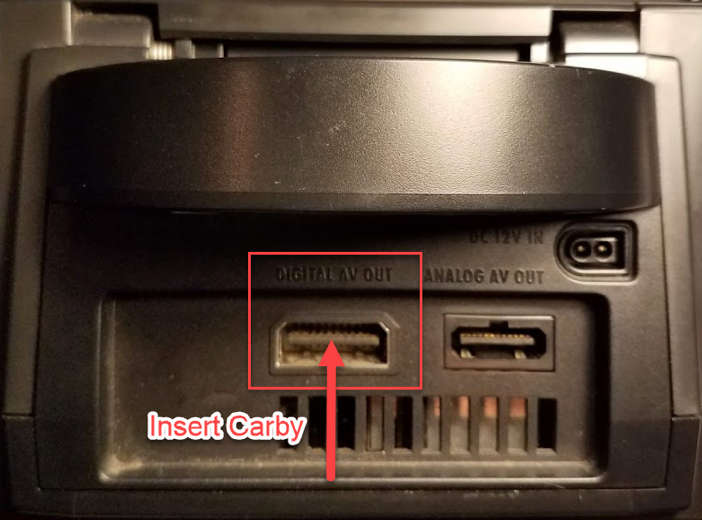
- Insert Carby into Digital AV OUT Port.
- Connect Digital Video Cable (HDMI) from Carby to TV/Monitor.
- Power on GameCube.
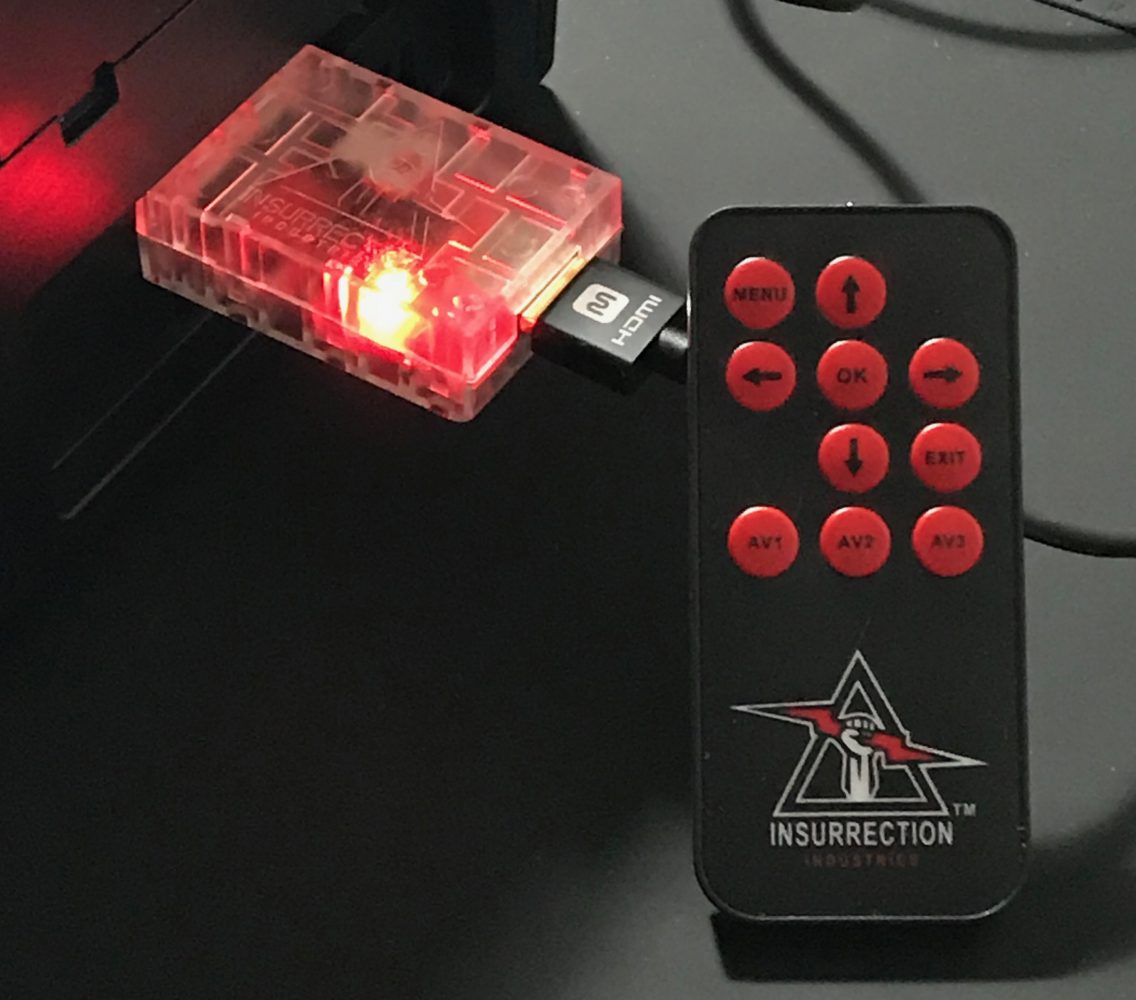
Carby Remote Quick Start
- Remove clear plastic tab at bottom of remote.
- With Carby installed and GameCube powered on press OK button to call up GC Video Settings Menu.
- Use arrow buttons to navigate menu.
- Use OK button to make selections.
- The Exit button will exit the pop up menu.
For details about options in the On Screen Display menu refer to the “OSD” section of the GCVideo DVI readme doc.
Carby Remote Training
Most any IR remote can be used with the Carby, this just requires a short training sequence. Follow this procedure if you would like to use a remote other than the one included with your Carby:
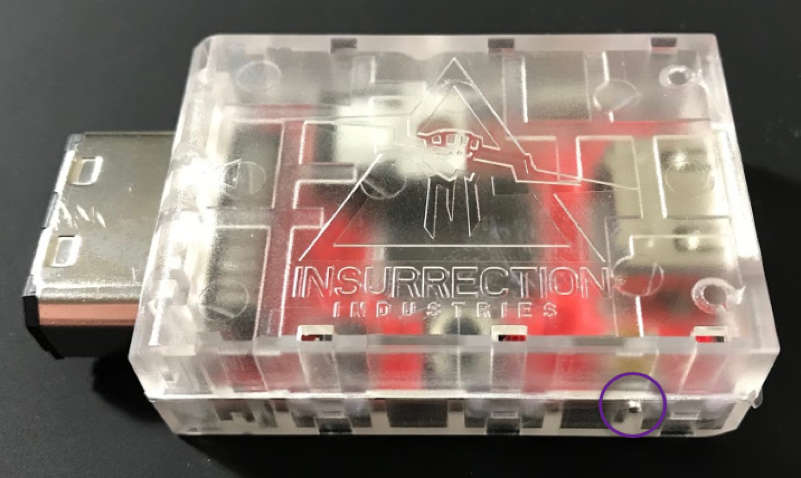
- There is a pin hole in the side of the plastic case. Use a paperclip to engage the button inside the case after powering up the GameCube.
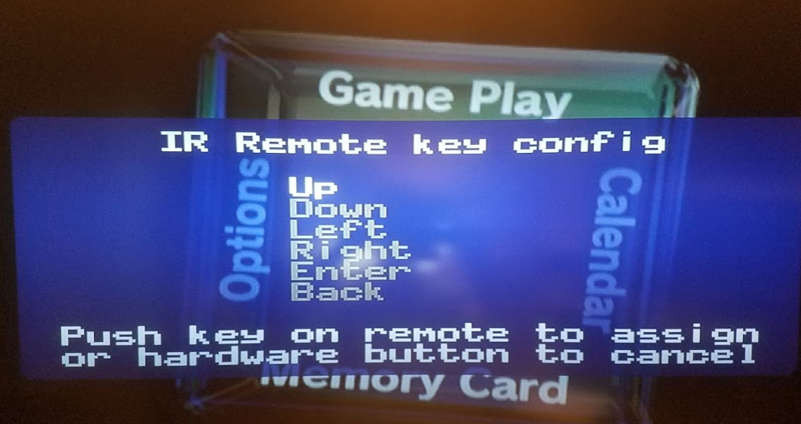
- The menu shown here will guide you through training your remote to be used with the Carby
More details about this can be found in the “OSD” section (specifically the “Using with an IR remote” subsection) of the GCVideo DVI readme doc.